Return to home page
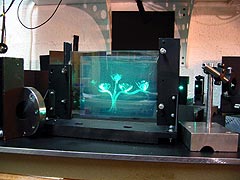
Gallery of holograms
See also my computerized remote control which allows to run the machinery from an adjacent room without any disturbation by vibration or air currents.
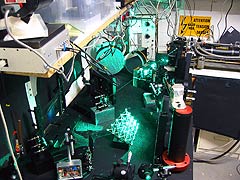
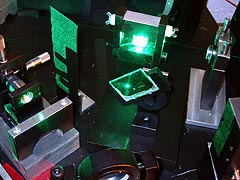
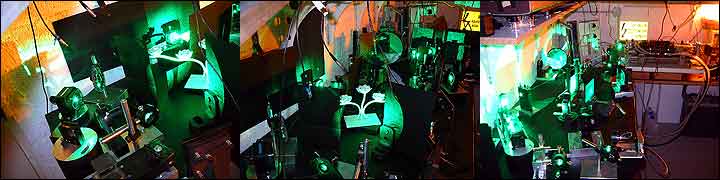
Here some pics of my setup a while ago - a bit cramped due to lack of space, typically I need to fold the beams a few times so that all fits on the table, and thus precise path length matching is a nightmare ! Fortunately this is not any longer necessary, due to the etalon that gives me a large coherence length.
|
|
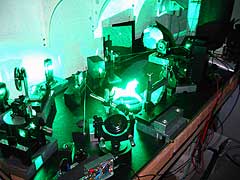
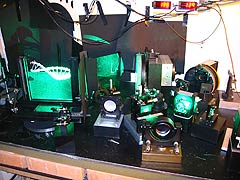
3-beam transmission master setup, with object illumination from left and right, reference collimator is in the back. |
|
Some Details
Most components are old parts obtained via ebay and mounted on aluminum bricks from the junk yard. I try to make everything as heavy as possible so I can just put it on the table without the need of further fixing it.
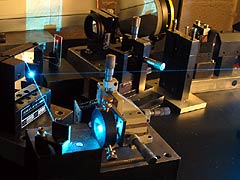
Spatial filter made from old 3D stage - the spring is for stabilizing the broken ball bearings |
|
Laser needs to be shielded for stray light, shutter behind cardboard is on adjacent table |
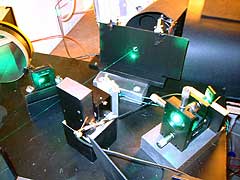
Film holder for my favorite format, 15x20cm - the two glass plates slide along spring-loaded guides |
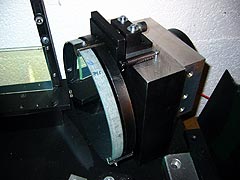
8'' collimation mirror - on massive alu stand with counterweights at back; forward tilt adjustable by screw |
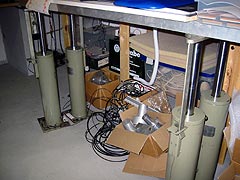
I just got these nice damper legs from the junk yard - I guess I'll have to make a new table just for using them ! |